How to Issue ROA in RIPE
A step-by-step guide on how to create ROA (Route Origin Authorization) in RIPE NCC.
You can create a ROA via RIPE‘s LIR portal in a few simple steps.
1. Log in to https://my.ripe.net.
2. Click Resources – My Resources on the left.
3. Check the IP resources you want to be covered by the ROA.
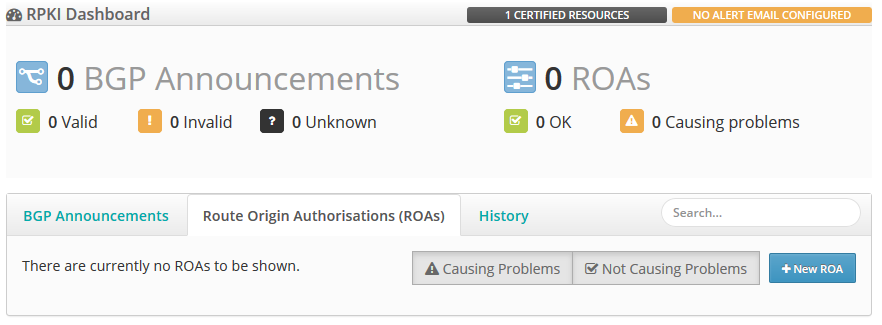
4. Click Resources – RPKI Dashboard.
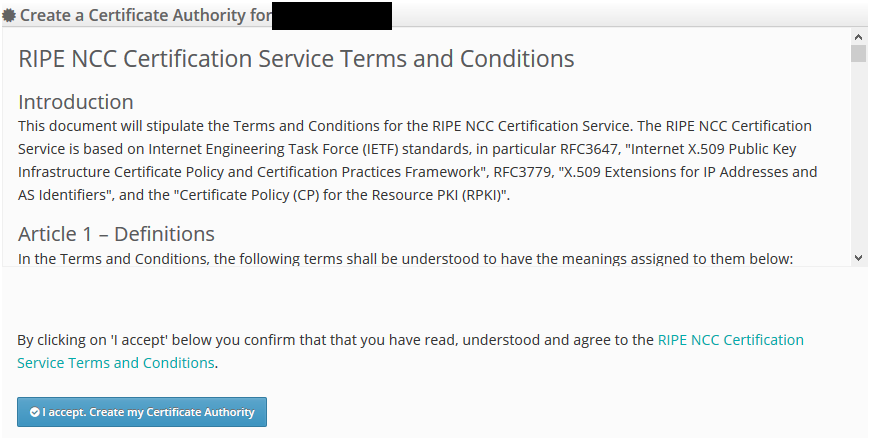
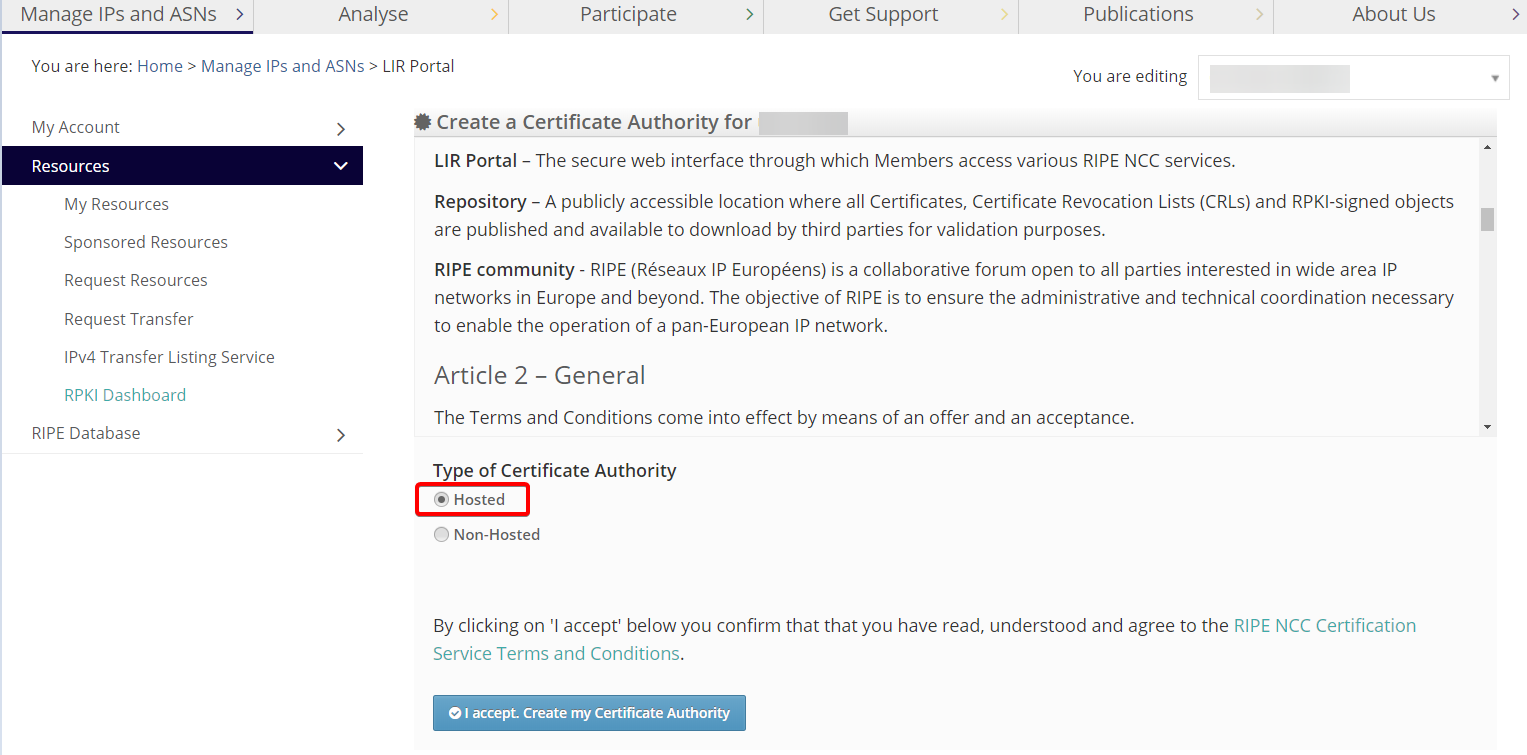
RIPE NCC can create Certificate Authority for your LIR. Read the Terms and Conditions carefully in Article 2, and if you wish that RIPE NCC manages your ROA, choose the Hosted type of certificate authority.
5. To agree with the Terms and Conditions, click the I accept. Create my Certificate Authority button.
6. In RPKI Dashboard, click the BGP Announcements tab. Here, you can find all AS numbers that are currently announcing your IP resources. To issue a new ROA, click the Route Origin Authorisations (ROAs) tab and click +New ROA.
7. Enter the following information:
- AS number that announces your IP resources via BGP (IPXO’s ASN is 834)
- Prefix that you want to be announced
- The most specific prefix length, which must be set to 24 to ensure that we can announce the most specific prefixes
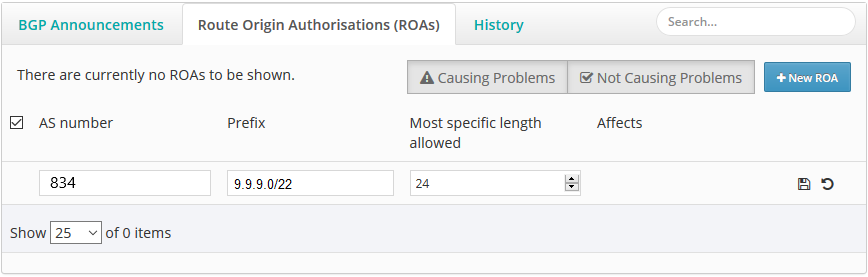
8. Click Save (floppy disk icon) to create and save your ROA.
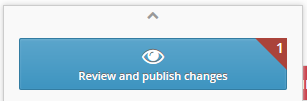
9. To publish the ROA, click the Review and publish changes pop-up and then click Publish.
Learn more
Contact Customer Solutions
If you have any questions, contact our Customer Solutions Team